Gelato Smart Wallet Integration Guide
You can use Gelato Smart Wallet to enable gasless transactions on Flow EVM. It supports features like: EIP-7702 or ERC-4337 depending on the wallet you use.
Prerequisites of using Gelato Smart Wallet
You need to setup all the followings in the Gelato App to create a Gelato Sponsor API Key.
Step 1. Create Your Gelato Account
Sign up on the Gelato App to establish an account. This account is the foundation for setting up relay tasks and managing gas sponsorships.
Step 2. Create a Relay App
Within your Gelato account, create a new Relay App with the Flow EVM network.
For Testnet, you can first allow Any contract to call your relay app.
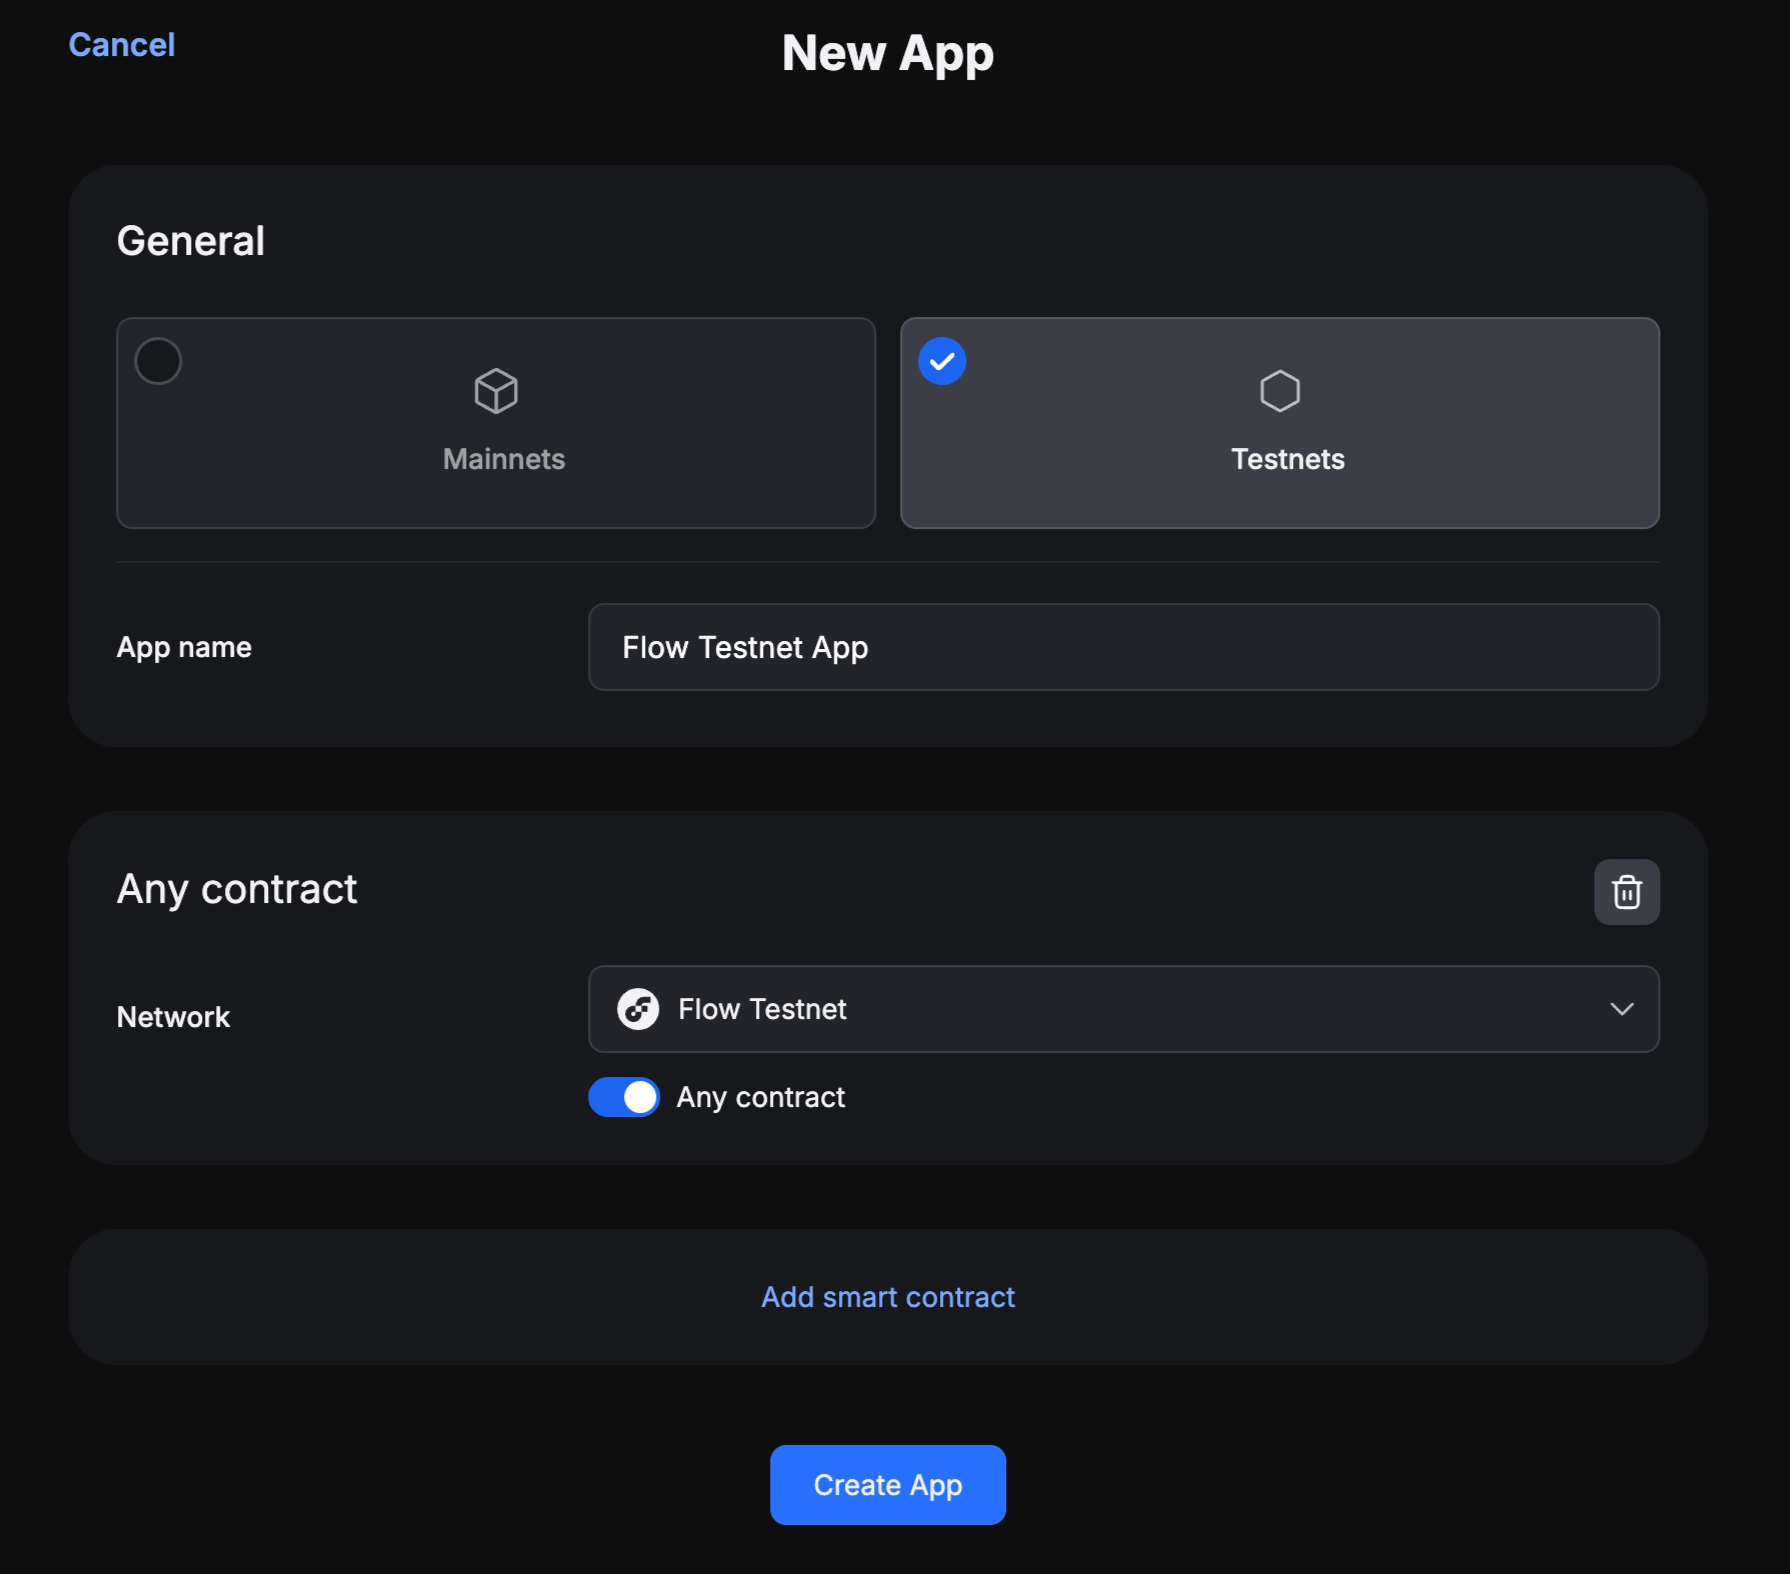
You can add more smart contract information and its associated chain information later in this App.
When set to a specific contract instead of Any contract, the API keys will only allow gasless transactions for calls to the designated methods within the ABI of the contract.
Step 3. Create/Obtain a Sponsor API Key
After creating the relay app, navigate to its dashboard to locate your Sponsor API Key.
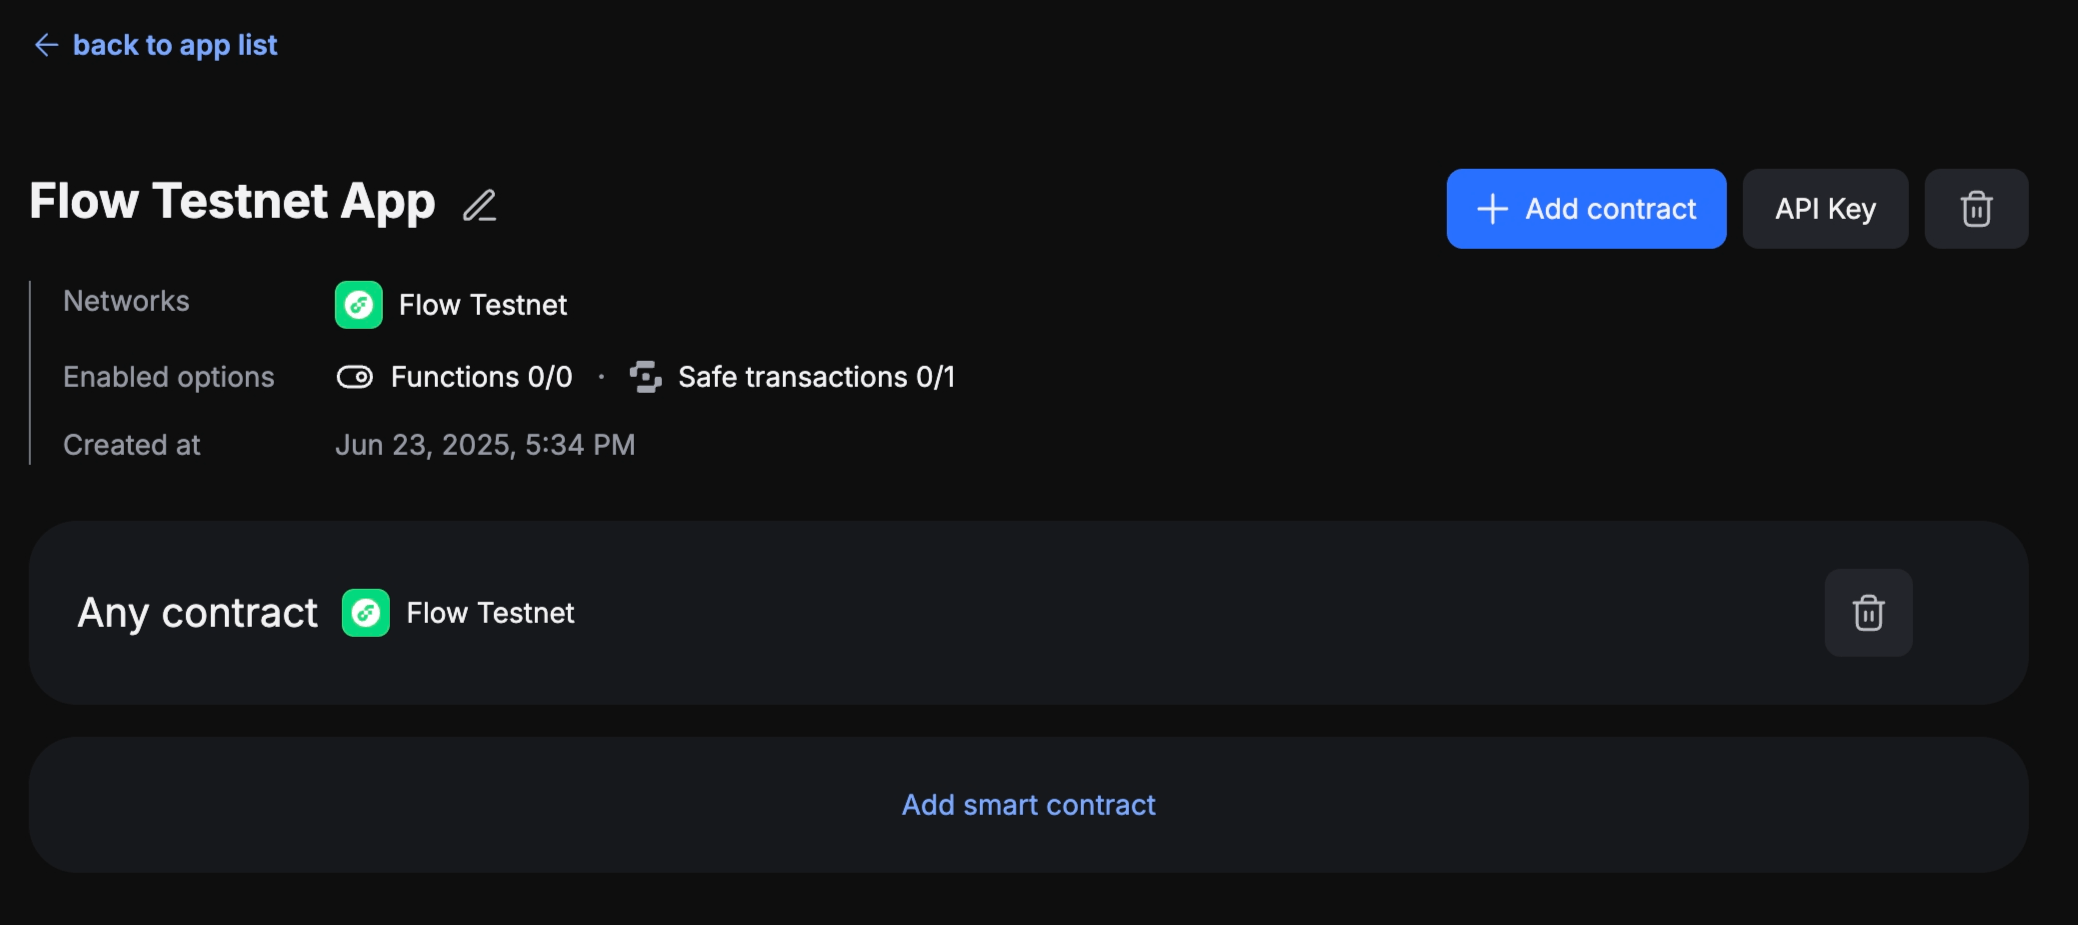
This key links your Gelato setup with 1Balance for gas sponsorship.
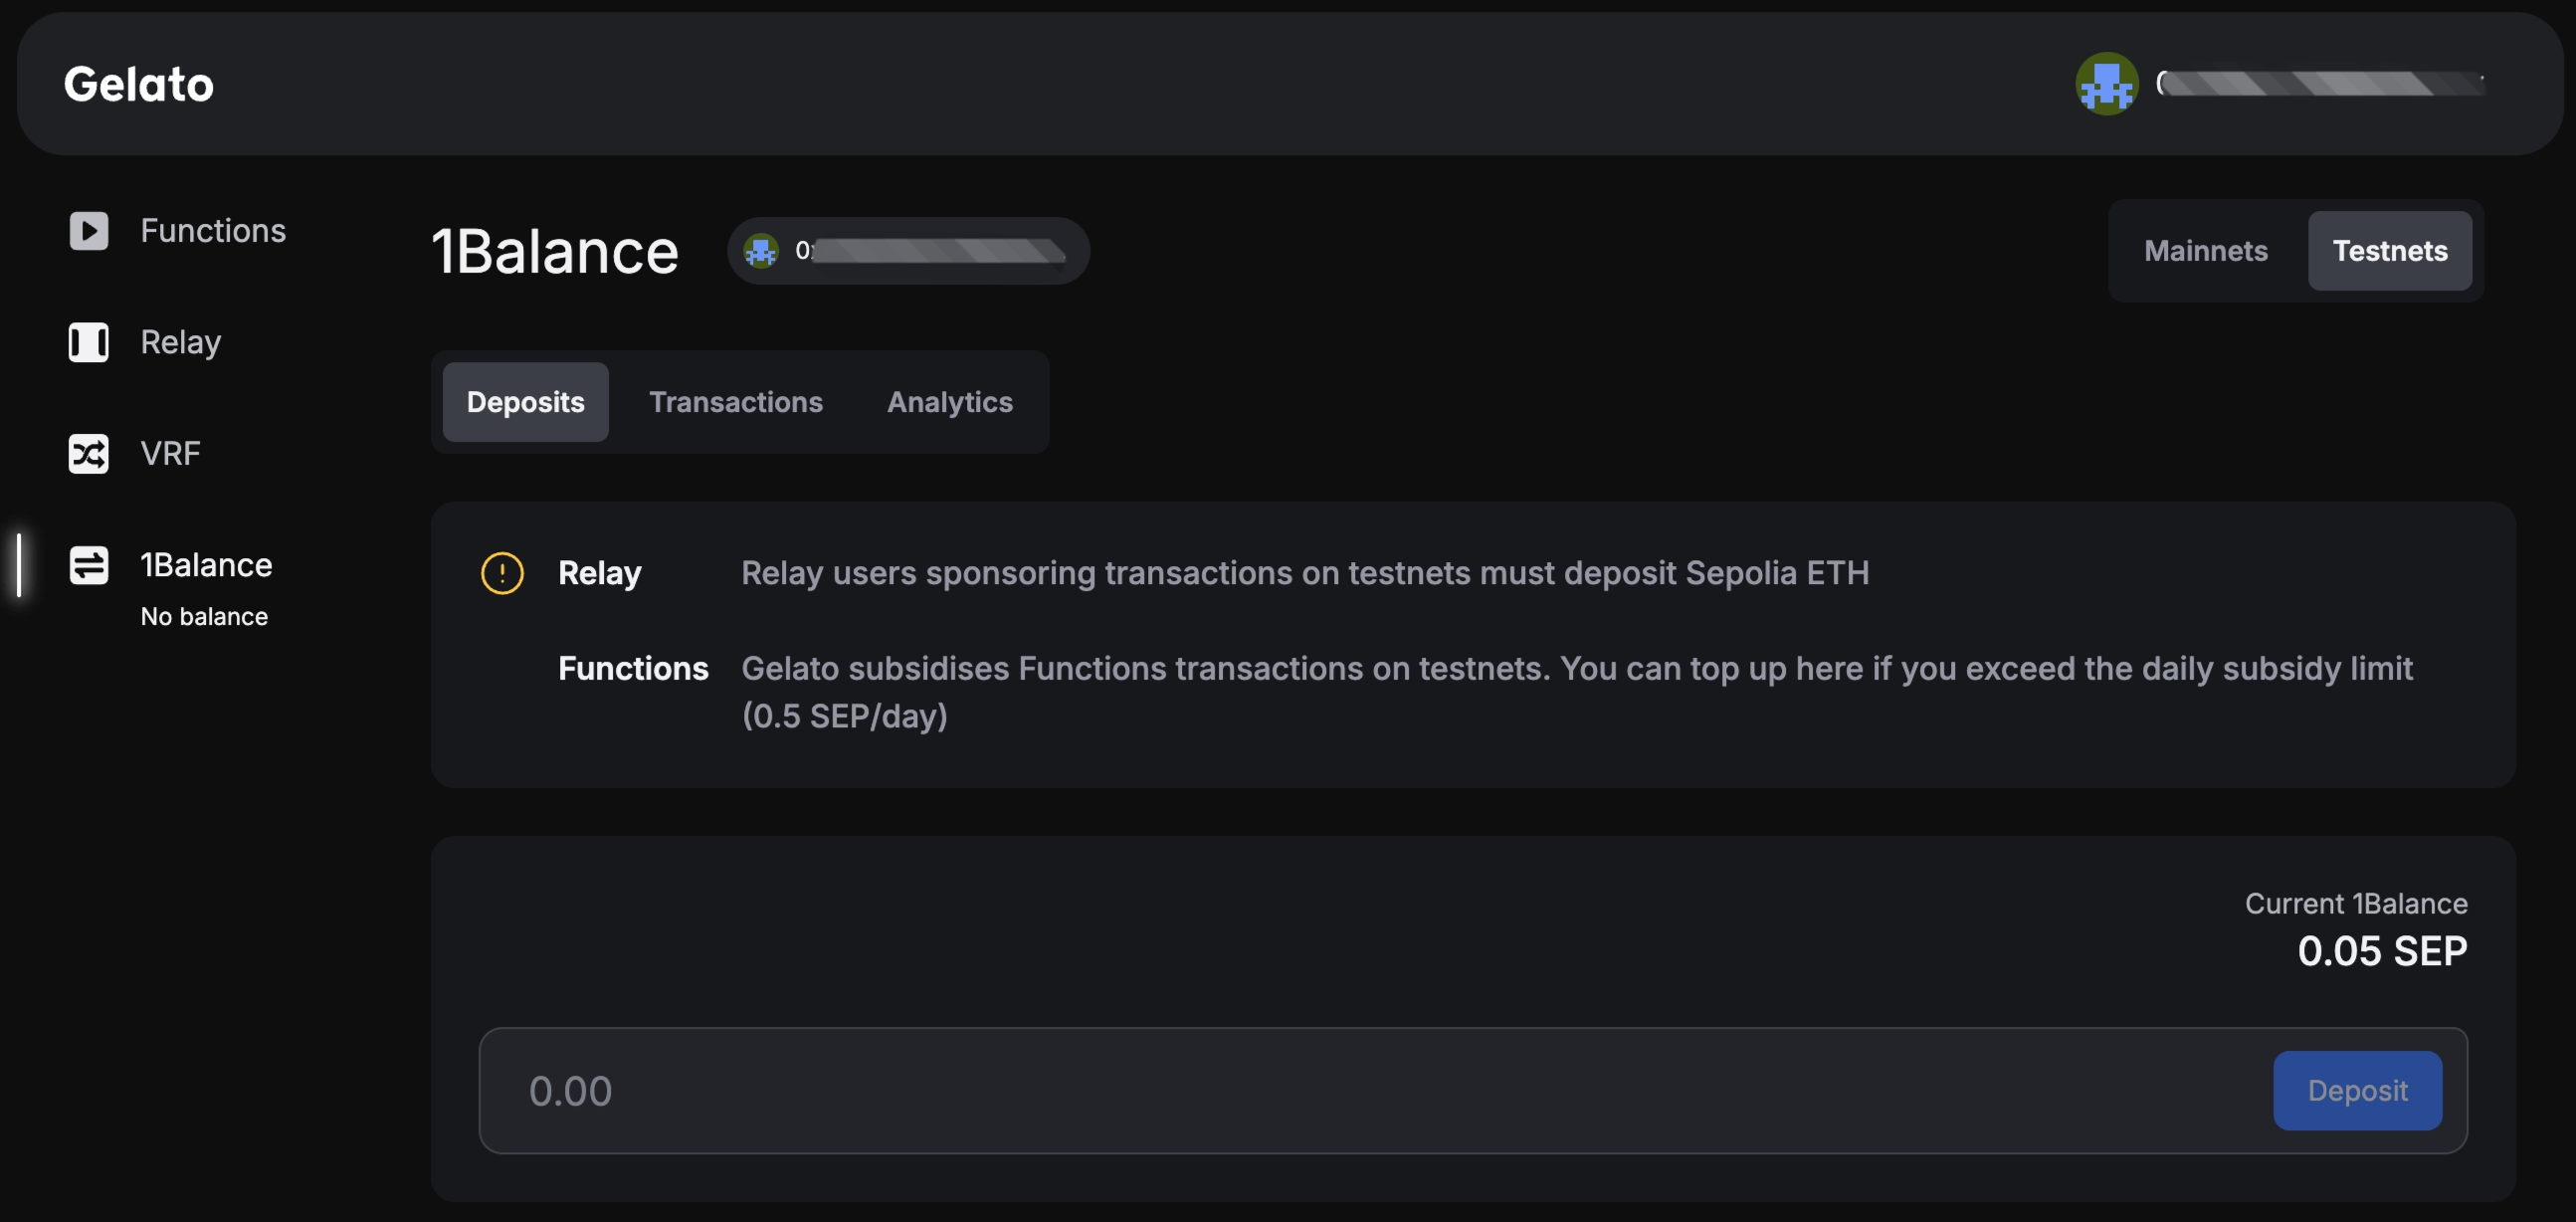
Step 4. Deposit Funds into 1Balance
To use Gelato sponsoring transactions, you need to deposit funds into 1Balance according to your target environment:
- Mainnets: Deposit USDC.
- Testnets: Deposit Sepolia ETH.
Here we use Sepolia ETH as the gas fee for Testnet‘s gasless transactions.
Here are some third party Sepolia ETH faucets you can use:
Send Gasless Transactions for your users
After you have created a Sponsor API Key and deposited funds into 1Balance, you can use gasless transactions features for your users.
With the Gelato Smart Wallet SDK, developers can easily set up sponsored transactions for their applications in just a few simple steps, enabling seamless onboarding and interaction without requiring users to hold native tokens.
You can find the examples in the Gelato Smart Wallet SDK repository.
Step 1. Install all relevant dependencies
- pnpm
- bun
- yarn
- npm
_10pnpm add @gelatodigital/smartwallet viem
_10bun add @gelatodigital/smartwallet viem
_10yarn add @gelatodigital/smartwallet
_10npm install @gelatodigital/smartwallet
Step 2. Setup Smart Wallet Account
Import required dependencies:
_11import { createGelatoSmartWalletClient, sponsored } from "@gelatonetwork/smartwallet";_11import { gelato } from "@gelatonetwork/smartwallet/accounts";_11import { createWalletClient, createPublicClient, http, type Hex } from "viem";_11import { generatePrivateKey, privateKeyToAccount } from "viem/accounts";_11import { flowTestnet } from "viem/chains";_11_11// Create a public client for the Flow Testnet_11const publicClient = createPublicClient({_11 chain: flowTestnet,_11 transport: http(),_11});
You can set up a Smart Account as per your needs.
Once you create the gelato account, the Gelato Smart Account address will be the same as your EOA, enabling EIP-7702 features.
_10// Prepare a normal EOA account_10const privateKey = (process.env.PRIVATE_KEY ?? generatePrivateKey()) as Hex;_10const owner = privateKeyToAccount(privateKey);_10_10// Wrap the EOA account into a Gelato Smart account_10const account = await gelato({_10 owner,_10 client: publicClient,_10});
Then you need to create a standard viem wallet client with the Gelato Smart Account.
_10const client = createWalletClient({_10 account,_10 chain: flowTestnet,_10 transport: http()_10});
Once you have a standard viem wallet client, you can wrap it into a Gelato Smart Wallet client with the sponsor API key.
_10const sponsorApiKey = process.env.SPONSOR_API_KEY;_10if (!sponsorApiKey) {_10 throw new Error("SPONSOR_API_KEY is not set");_10}_10_10const swc = await createGelatoSmartWalletClient(client, {_10 apiKey: sponsorApiKey_10});
Step 3. Estimate or Send a Gasless Transaction
Now you can estimate or send a gasless transaction with the Gelato Smart Wallet client.
To estimate the fee and gas for a gasless transaction, you can use the estimate method.
_13const response = await swc.estimate({_13 payment: sponsored(sponsorApiKey),_13 calls: [_13 {_13 to: "0xa8851f5f279eD47a292f09CA2b6D40736a51788E",_13 data: "0xd09de08a",_13 value: 0n_13 }_13 ]_13});_13_13console.log(`Estimated fee: ${formatEther(BigInt(response.fee.amount))} FLOW`);_13console.log(`Estimated gas: ${JSON.stringify(response.gas)} GAS`);
To send a gasless transaction, you can use the execute method.
_14const results = await smartWalletClient.execute({_14 payment : sponsored(sponsorApiKey),_14 calls: [_14 {_14 to: "0xa8851f5f279eD47a292f09CA2b6D40736a51788E",_14 data: "0xd09de08a",_14 value: 0n_14 }_14 ]_14});_14_14console.log("userOp hash:", results?.id);_14const txHash = await results?.wait();_14console.log("transaction hash",txHash);
Or you can use prepare + send to send a gasless transaction.
_27const preparedCalls = await swc.prepare({_27 payment: sponsored(sponsorApiKey),_27 calls: [_27 {_27 to: "0xa8851f5f279eD47a292f09CA2b6D40736a51788E",_27 data: "0xd09de08a",_27 value: 0n_27 }_27 ]_27});_27_27// Other actions can be performed here_27_27const results = await swc.send({_27 preparedCalls_27});_27_27// You can listen for events from the Gelato Smart Wallet client_27results.on("submitted", (status: GelatoTaskStatus) => {_27 console.log(`Transaction submitted: ${status.transactionHash}`);_27});_27results.on("success", async (status: GelatoTaskStatus) => {_27 console.log(`Transaction successful: ${status.transactionHash}`);_27});_27results.on("error", (error: Error) => {_27 console.error(`Transaction failed: ${error.message}`);_27});
Conclusion
So far, you’ve learned how to send sponsored EIP-7702 transactions using a Gelato Smart Wallet on Flow EVM.